A Colourful Tatted Doily from an Old Pattern
Lace tatting has always fascinated me, especially the elegance and delicacy it brings into handmade decor. Though I have more likings for dress design with tatting, recently started making doilies, after attending tatter’s meet at Vizag.Recently, I revisited one of my old tatting pattern books and decided to make this beautiful tatted doily using Anchor TKT 20 thread. Though the pattern looks graceful and effortless when complete, the journey of tatting it was full of learning, patience, and joy.
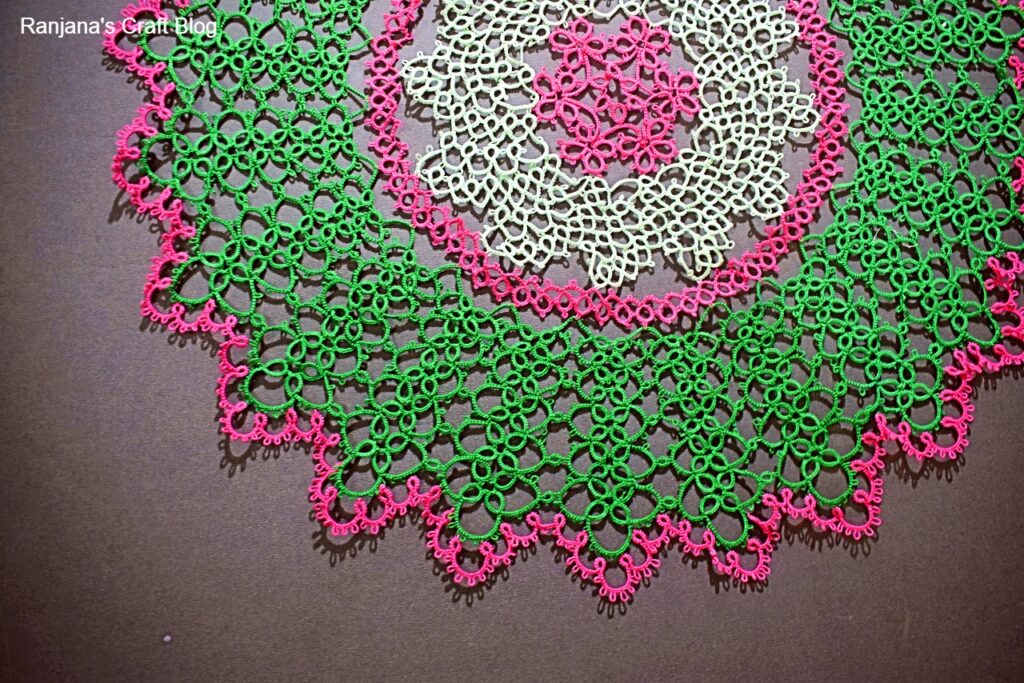
Here is the tatted doily I made:
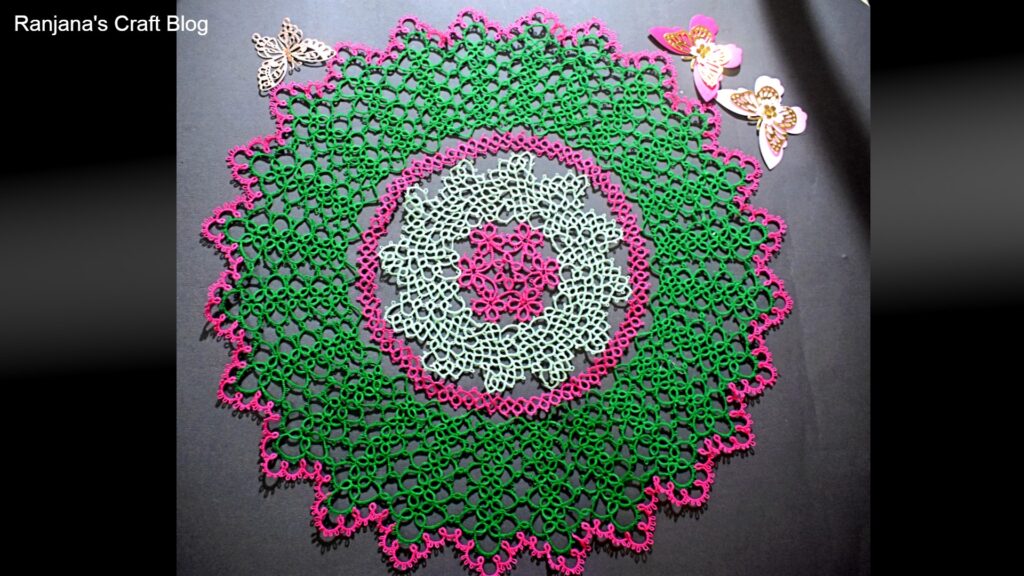
The doily I tatted
Choosing the Colours
The colour combination played a very important role in enhancing the beauty of this tatted doily. I had seen palin white color doily in same pattern.White is always beautiful for doilies. But I wanted a vibrant yet balanced look, so I selected three shades:
-
A deep pink for the centre and outer edging
-
A soft pastel shade in green for the inner floral band
-
A rich green for the broad middle section
The transition from pink to pastel and then to green gives the doily a floral, nature-inspired appearance. The green stands out beautifully against the pink outline, almost like leaves surrounding flower petals. The contrast makes the design lively while still maintaining harmony across the layers.
One more view
About the Design
This tatted doily is worked in multiple rounds, each round adding a new layer of rings and chains. The centre starts with a delicate floral motif. From there, the lace slowly expands outward, creating a balanced circular spread.
The broad green section contains repeated motifs that require consistent stitch count and spacing. Finally, the pink lace edging gives the doily a finished, ornamental look. The completed piece feels both traditional and timeless.
Difficulties I Encountered While Tatting
Even though the pattern looked simple in the book, working on this tatted doily came with a few challenges:
-
Maintaining tension with Anchor TKT 20 thread required focus, especially in larger rings and long chains.
-
The doily is worked in continuous rounds, so a single mistake meant unpicking quite a bit of work. Also I used to get bored of the repeated pattern of the green section.
-
Joining accurately in the green section was tricky because the motif repeats closely and any uneven tension would distort the shape.
-
Blocking was essential to bring out the lace definition and symmetry.
However, overcoming these small struggles made the final result even more satisfying.
Final Thoughts
Creating this tatted doily reminded me why I love tatting so much. It combines precision, creativity, and patience into one meditative craft. Working from an old pattern book also added a nostalgic touch — a connection to the long tradition of lace-making.
This doily now sits proudly as a decorative centerpiece, adding a handmade charm to the space. I am already tempted to try the same design in a single-colour thread to see how differently it turns out.
If you enjoy lace tatting, I definitely recommend trying a multi-coloured tatted doily like this — it brings the design to life beautifully.
Love, Laugh and Live the life to the fullest ,
-Ranjana