
Floral Decoupage Tray – A Colourful DIY Home Decor Idea
My Love for Decoupage and Floral Designs
Decoupage is one of the easiest and most beautiful ways to create home decor items. I love how this art can transform even an old or ordinary object into something beautiful and attractive. Decoupage items also make lovely handmade gifts.
There are many interesting techniques in decoupage, and I always enjoy experimenting with them. Recently, I tried the doily effect technique on a jewellery box, and I loved the result.
Nowadays, we get beautiful decoupage papers in a wide variety of designs and patterns. Apart from these papers, decoupage tissues are also available with lovely floral and other designs. Each gives a different look to the finished project.
For this floral decoupage tray, I chose to use decoupage tissue. The beautiful blue flowers caught my attention, and I thought they would look lovely on a wooden tray. I decided to combine them with a bright green colour to give the tray a fresh and colourful look.
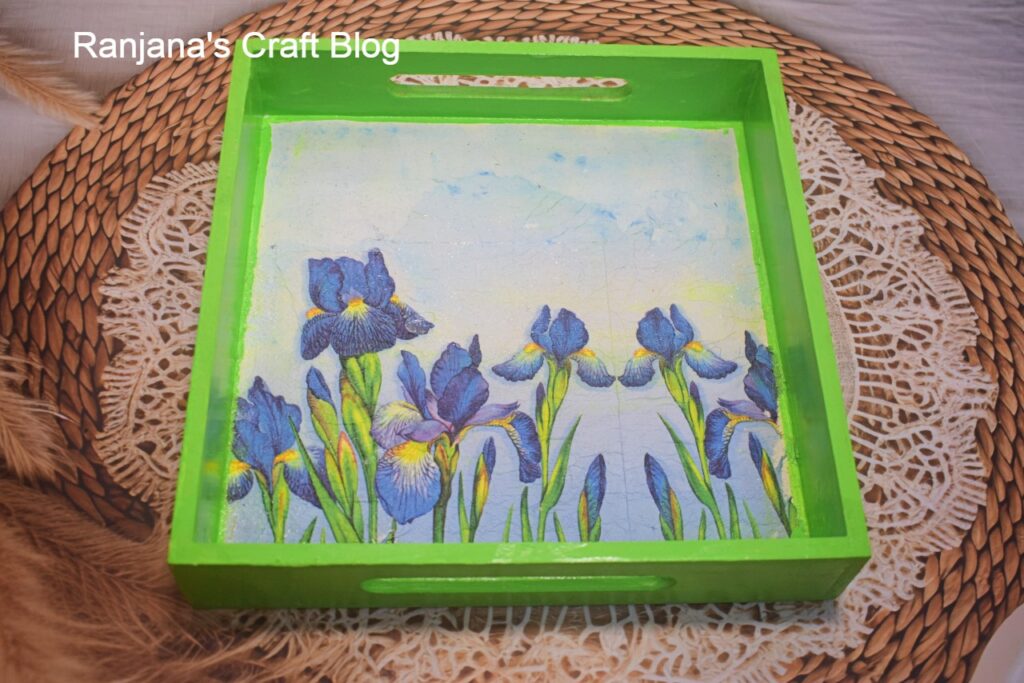
The tray with decoupage
Choosing the Wooden Tray for Decoupage
I have a habit of collecting wooden items whenever I find something interesting. I had bought this small wooden tray at a destash sale some time ago, and it was lying in my craft stash, waiting for a makeover.
I particularly enjoy decoupage on wooden surfaces. They are sturdy, easy to work with, and the finished pieces are quite durable. Another advantage is that we get wooden bases in so many shapes and sizes, giving us plenty of options to experiment with.
For this tray, I chose a floral decoupage tissue with blue iris flowers against a soft, light blue background. I loved the combination of colours, especially the delicate blue flowers. The moment I saw the tissue, I felt it would be a lovely choice for this little tray.
Choosing the Colours for the Tray
The decoupage tissue has lovely blue iris flowers against a light blue background. To maintain the continuity of colours, I decided to use a similar shade of blue for the tray’s background.
For the edges, I initially thought of using a darker shade of blue. But then I felt a little contrast would make the design more attractive. So I chose green instead. Green also represents nature and complements the floral theme perfectly. I felt this combination would give the tray a fresh and lively look.
The Tissue Decoupage Process
First, I sanded the wooden tray with sandpaper to make the surface smooth and even. Then I applied gesso diluted with a little water. I gave 2–3 coats, allowing each layer to dry completely before applying the next one.
Once the surface was ready, I applied decoupage glue and let it dry. Then I carefully placed the floral tissue on the tray and gently dabbed it with a damp sponge to fix it in place. After it dried, I painted the remaining areas with the colours I had selected.
Finally, I applied varnish to protect the artwork and give it a neat finish.
I have shared the complete step-by-step tutorial in my video, where you can see the entire process. Do watch it if you would like to try this tissue decoupage technique.
What I enjoy most about decoupage is how we can transform a simple wooden item into something attractive with just a few materials and a little creativity. Every project gives me an opportunity to experiment with different designs, colours and techniques.
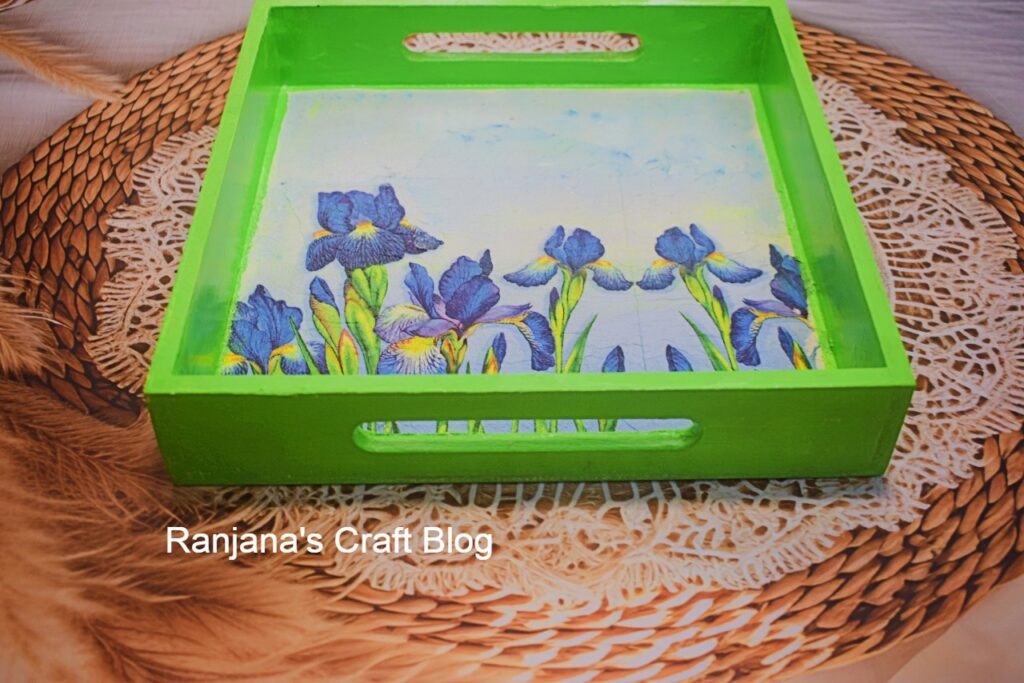
One more view
I gifted this tray to my friend. I always feel that handmade gifts have a special charm, as we put our time, effort and creativity into making them. It was nice to turn a simple tray from my craft stash into a gift for someone.
Love, Laugh and Live the life to the fullest,
-Ranjana


