
Vintage Decoupage on a Wooden Bin with Hand-Painted Stripes and Distressed Effects
Experimenting with Two Techniques on One Wooden Bin:
Isn’t it interesting how we sometimes try to make old things look new, and new things look old? That is exactly what we do in decoupage! 🙂
Decoupage has always been one of my favourite crafts. What started as an art of decorating old objects with paper has now become a wonderful way to create beautiful vintage effects on new items. And I love experimenting with these different techniques.
I have learnt quite a few decoupage techniques over time. Recently, I shared my wooden thread storage box decorated using the doily effect technique.
This time, I wanted to experiment with two more techniques on a single wooden bin—hand-painted stripes and the vintage distressed effect. I chose classic car motifs to complement the vintage look, along with some beautiful floral designs. The two techniques give completely different finishes, yet come together beautifully on the same bin.
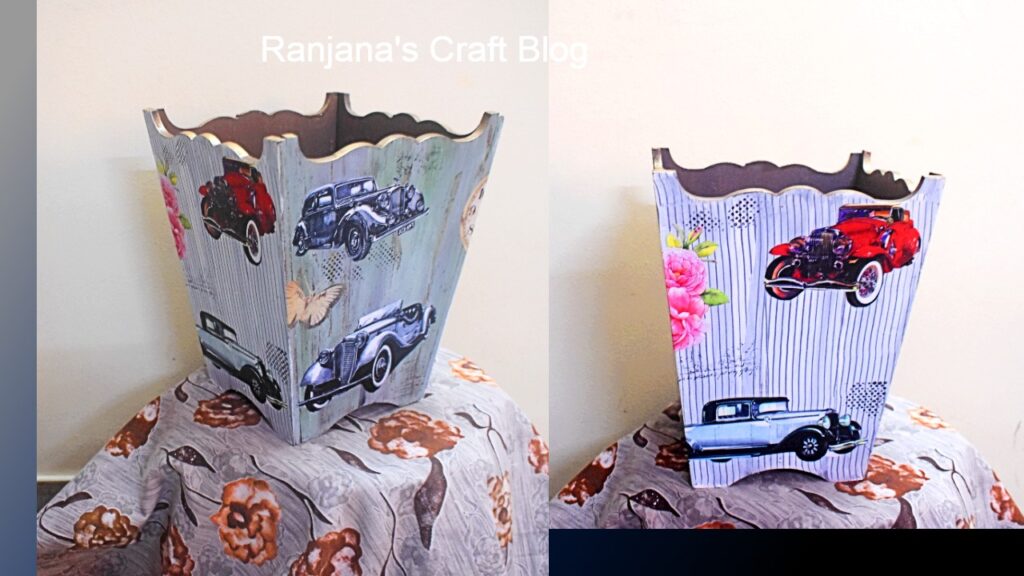
Decoupage with distressed and strip effect
Choosing Classic Cars for the Vintage Theme:
Most of the time, I choose floral designs for my decoupage projects. Though floral motifs always look beautiful, this time I wanted to try something different. I came across a decoupage paper featuring classic cars and immediately felt it would be perfect for creating a vintage distressed effect.
To add a little contrast and break the monotony, I also included some floral and butterfly motifs in between. I felt these delicate designs would balance the rustic vintage look of the classic cars.
Creating the Vintage Distressed Effect:
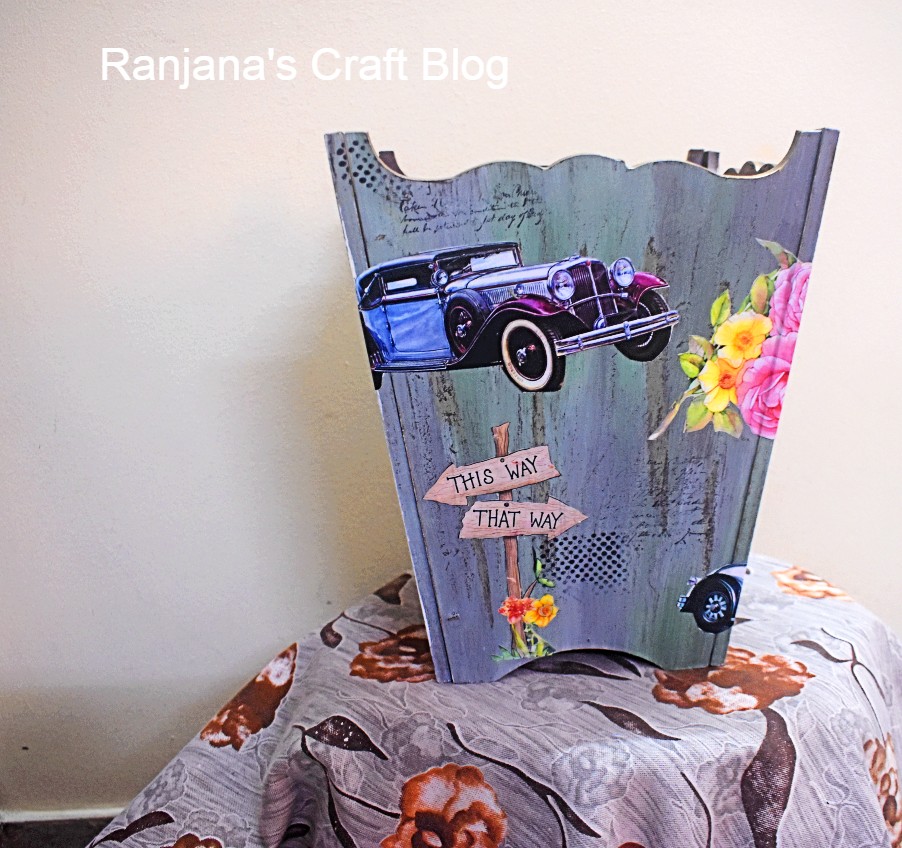
The vintage effect
On two opposite sides of the wooden bin, I used the distressing technique to create a vintage look. Personally, I feel turquoise and pink work beautifully for this effect. Light blue is another lovely option, though there are many other shades we can experiment with.
The final choice also depends on where we plan to place the finished item. I prefer selecting shades that complement the surrounding décor
Painting Stripes on the Wooden Bin
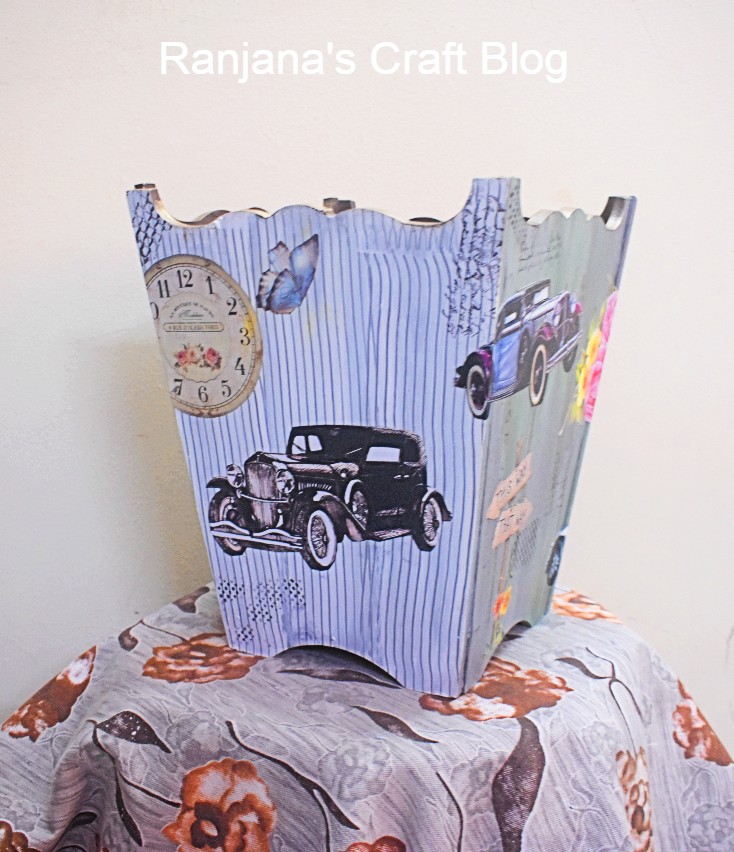
The stripe effect
On the other two sides of the wooden bin, I used the stripe technique. This technique requires a special pattern-making tool to create the stripes. First, the surface is painted with the chosen base colour, followed by a coat of white paint. Once the white paint dries, the stripes are created using the tool.
I love how this technique adds a different texture and look to the project. I will soon share detailed tutorials on both the stripe and vintage distressing techniques.
Bringing the Two Decoupage Techniques Together
I have used the same colour on all four sides of the wooden bin to maintain a uniform look. Though I used two different techniques on alternate sides, each creates a different effect.
To bring these two effects together, I added some decorative designs along the edges where the sides meet. This creates a smooth transition between the vintage distressed effect and the stripes, giving continuity to the overall design.
I feel this small detail makes the entire project look more connected and complete.
I am going to use this bin to store all my design papers. I have quite a collection of designs, and I plan to roll them up and arrange them neatly inside. Now my designs will have a beautiful handmade home of their own! 🙂
Love, Laugh and Live the life to the fullest,
-Ranjana


