Tatting Motif Resin Coasters – Handmade Lace Tatting Coasters with Resin Art
Handmade crafts become truly special when two different art forms come together and create something new. These coasters are a result of such a beautiful combination — traditional tatting lace motifs preserved inside clear resin, transforming delicate threads into durable functional art. I love tatting very much. But not the resin art so much. I feel it is messy, though it creates stunning articles. This is the best art form for home decor.
I always ;ove to combine two or more arts. Ihave used embroidery with tatting to design a saree. As someone who loves exploring how textile crafts can move beyond fabric and become part of everyday home décor, this project gave me immense joy. Each coaster carries the softness of lace, the precision of tatting, and the modern finish of resin — all coming together in a single piece.
In this blog post, I will share the idea behind these tatting motif resin coasters, my material choices, color planning, design process, and what makes these coasters unique.
The coasters I have designed :
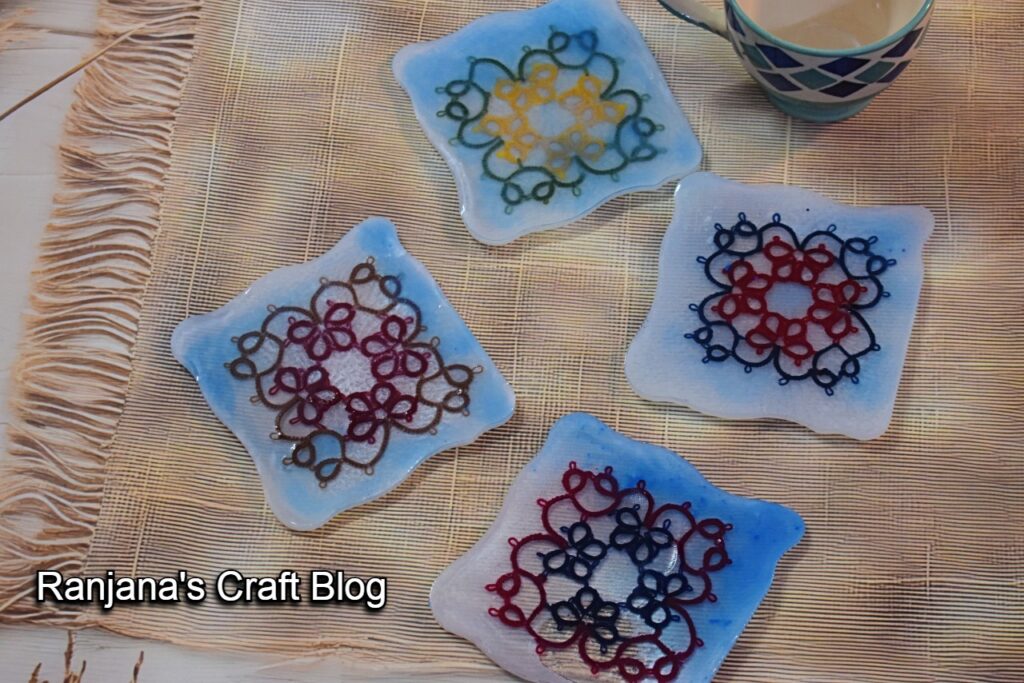
The four coasters I made
Why Combine Tatting Lace with Resin?
Tatting is an old lace-making technique known for its fine loops, knots, and symmetrical beauty. Traditionally, tatting is used for doilies, borders, edgings, jewelry, and embellishments.
Resin, on the other hand, is a contemporary medium that preserves objects in a glass-like finish while giving them strength and longevity.
By embedding tatting motifs inside resin:
-
The lace becomes permanently protected
-
The delicate thread turns into a strong, usable surface
-
Tatting moves from decorative textile to functional home décor
This fusion allows traditional craft to find a place in modern homes.
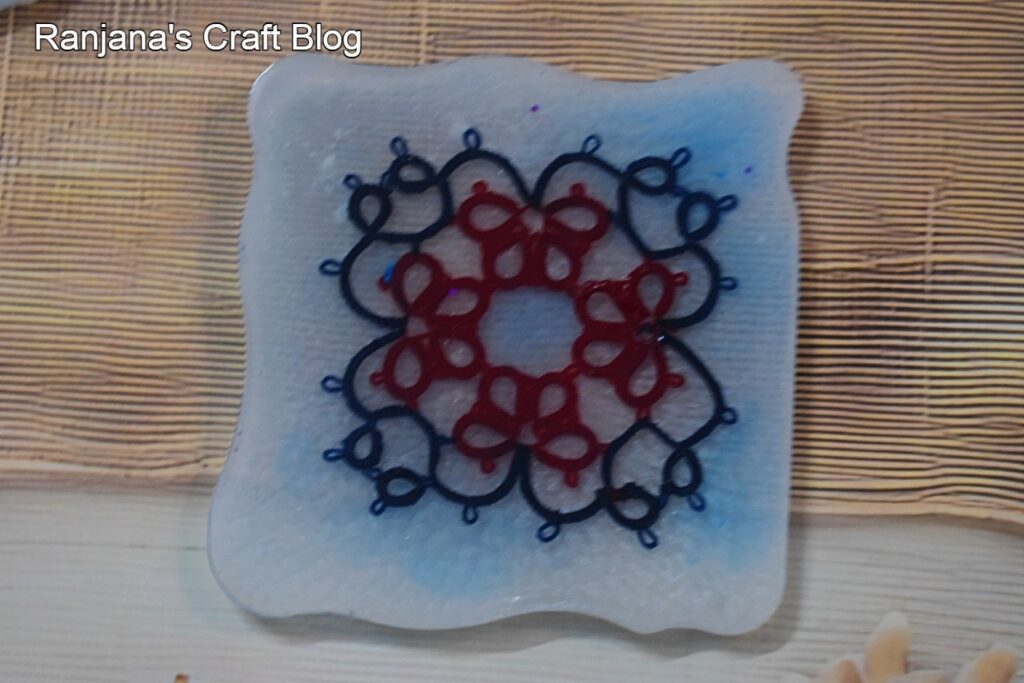
The closer view
Materials Used
For this project, I kept the materials simple and reliable:
-
Hand-tatted lace motifs. These motifs I already had in my stash.
-
Clear casting resin
-
Silicone coaster moulds
-
Pigments or resin tints (White pearl color and soft blue shades)
-
Mixing cups and wooden sticks
-
Gloves and workspace protection
Using good quality resin is important because it determines clarity, bubble formation, and long-term durability.
Step-by-Step Process (Overview)
1. Preparing the Motifs
All tatting motifs are washed, dried, and pressed flat before use. I have made thes long before. These were in my stash. So used the same.
2. Mixing the Resin
Resin and hardener are mixed slowly to avoid bubbles. The resin pack will have all the instructions. Follow it strictly. Otherwise it doesn’t harden properly and all the effort will be wasted.
3. Pouring Base Layer
A thin layer of resin is poured into the mould first. For thei I mixed white pearl powder. And allowed it to dry for 4 hours.
4. Placing the Tatting Motif
On the semi dried resin I placed the motif. The lace motif is gently placed and adjusted at the center.
5. Final Pour
More resin is poured until the motif is fully submerged.Then on top of this I poured blue color mixed resin and made some desins.
6. Curing
The mould is covered and left undisturbed for 24 hours.
7. Demoulding and Finishing
Once cured, edges are checked and lightly sanded if required.
This slow, patient process ensures clarity and neat finishing.

The layer by layer work
Caring for Resin Tatting Coasters
-
Wipe with soft damp cloth
-
Avoid abrasive scrubbers
-
Do not expose to high heat
-
Keep away from direct sunlight for long hours
With basic care, these coasters last for years.
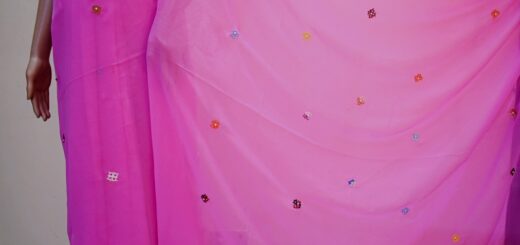
I love working with mixed media. Recently for a duppata design I had combined tatting with painting.If you love lace, handmade details, and innovative craft ideas, this project may inspire you to try combining your own textile creations with resin
Love, Laugh and Live the life to the fullest,
-Ranjana