DIY Wooden Thread Storage Box Using Decoupage and Stenciling
I tried the doily effect decoupage technique on one more wooden box, which I am using to store my threads. In my previous post, I had already shared a decoupage project using the same technique. But I wanted to practise it a little more and perfect the doily effect. So, I decided to try it again on this box. It was another opportunity to experiment with colours and designs while making something useful for my craft room.
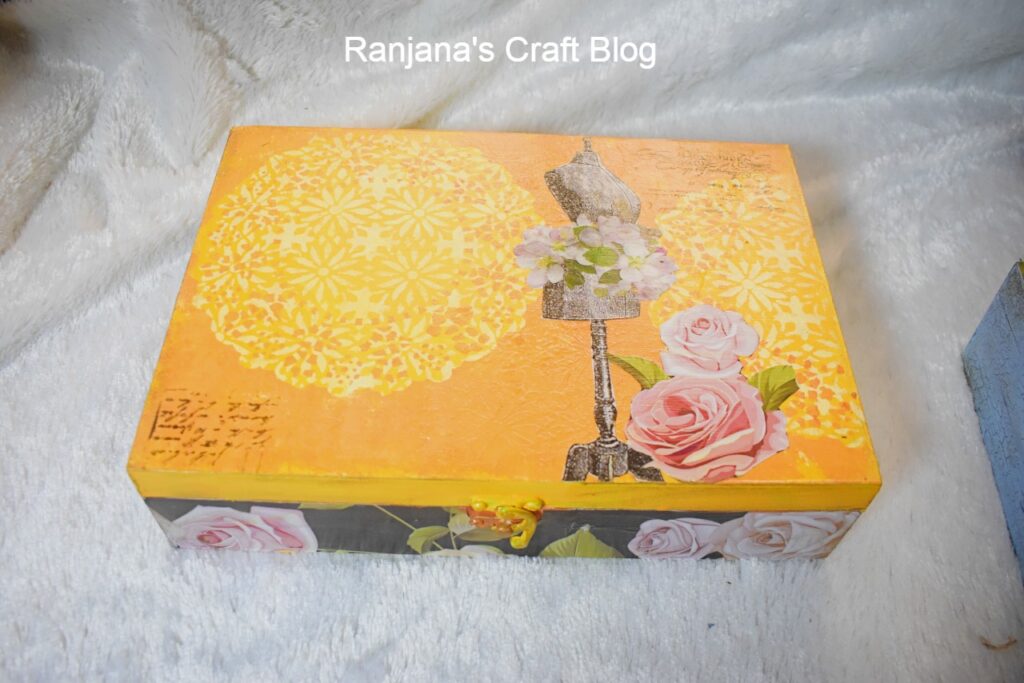
The box
Choosing the colors for the decoupage:
I usually prefer subtle colours for my decoupage projects. Most of the time, I choose soft and light shades. But this time, I thought of trying something different. I chose dark yellow and orange, which I don’t normally use together for decoupage.
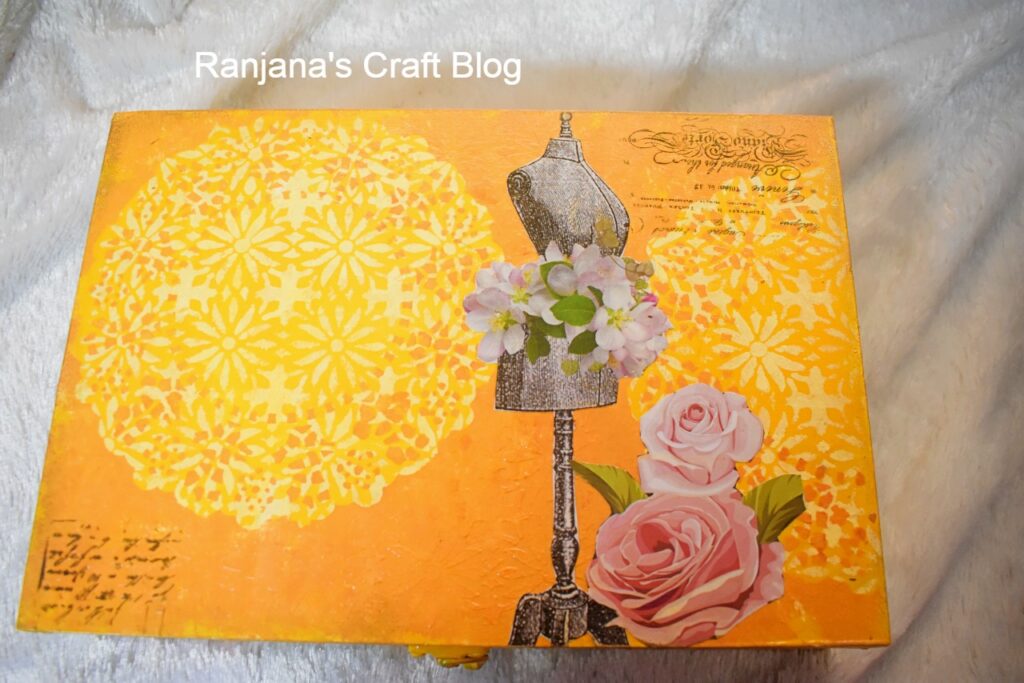
The colors chosen are yellow and orange
Initially, I was a little hesitant about the colour combination. I was not sure whether the box would look too bright. But I wanted to experiment, so I continued with the same colours. Once I added the contrasting decoupage paper with pink roses, I started liking the look. The doily effect also came out nicely on the orange background.
I think experimenting with colours is one of the interesting parts of crafting. Sometimes the combinations we are not very confident about turn out better than expected. This was one such project for me. I am quite happy with how the box has turned out, and now I have a colourful box to store my threads too!
Creating the Delicate Doily Effect with Stenciling:
I used a doily stencil to create the delicate lace-like design on the box. I chose a lighter shade of yellow so that the pattern would stand out against the orange background. I was extra careful while stenciling this time, as I wanted to improve the technique and get a neat finish. I think the doily effect has come out much better this time.
Adding Vintage Floral Decoupage Designs:
As I am going to use this box for storing threads, I wanted to choose a decoupage paper related to sewing and stitching. Luckily, I already had a beautiful paper with a vintage design in my stash. I felt it was just right for this project. I carefully cut out the design and glued it onto the box. To add a little extra elegance, I also cut out a pretty rose design and glued it on the side. I think the roses go very well with the vintage theme and add a lovely finishing touch to the box.
Decorating the Sides with Rose Designs
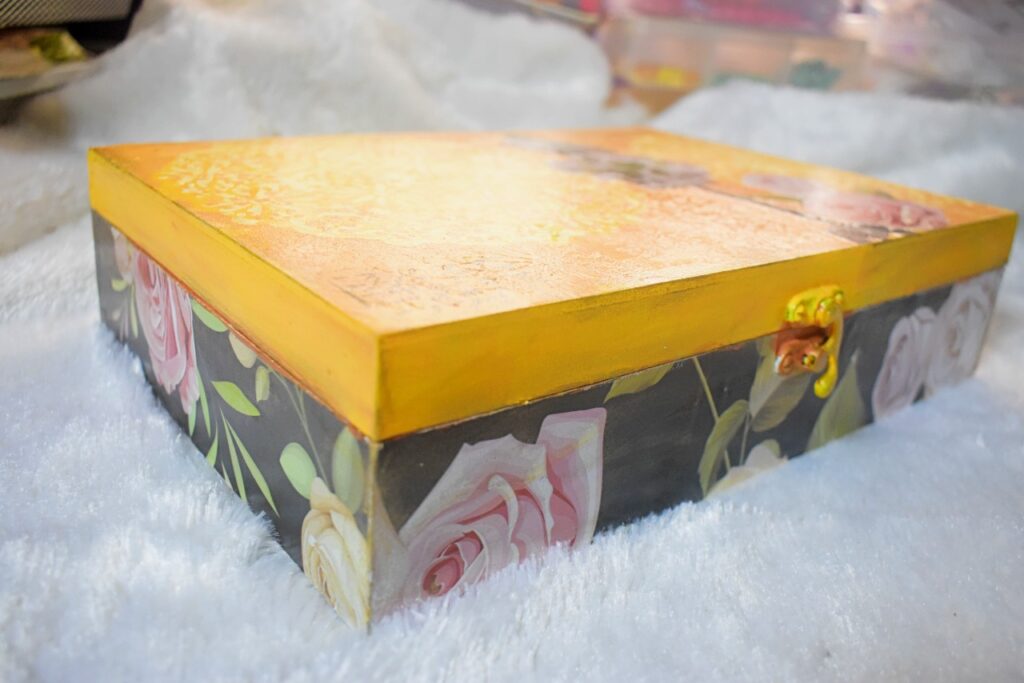
The sides are decorated with rose design
To balance the bright yellow and orange colours, I chose black decoupage paper with a beautiful rose design. I feel black always helps to tone down bright colours and gives a more sober and elegant look. Initially, I was not sure whether black would go well with these colours, but after adding the paper, I really liked the combination. The rose design also matches the main design I had chosen for the lid. I think the black background has made the roses stand out beautifully and given a nice contrast to the whole box.
Overall, I am quite happy with how this box has turned out. This was my second attempt at the doily effect, and I feel I have improved the technique a little more. The bright colours, delicate doily patterns and vintage floral designs have come together nicely. Though I was hesitant about the colour combination in the beginning, I am glad I tried something different.
Love, Laugh and Live the life to the fullest,
-Ranjana